How to solve receipt printer not working in Autocount issue? #
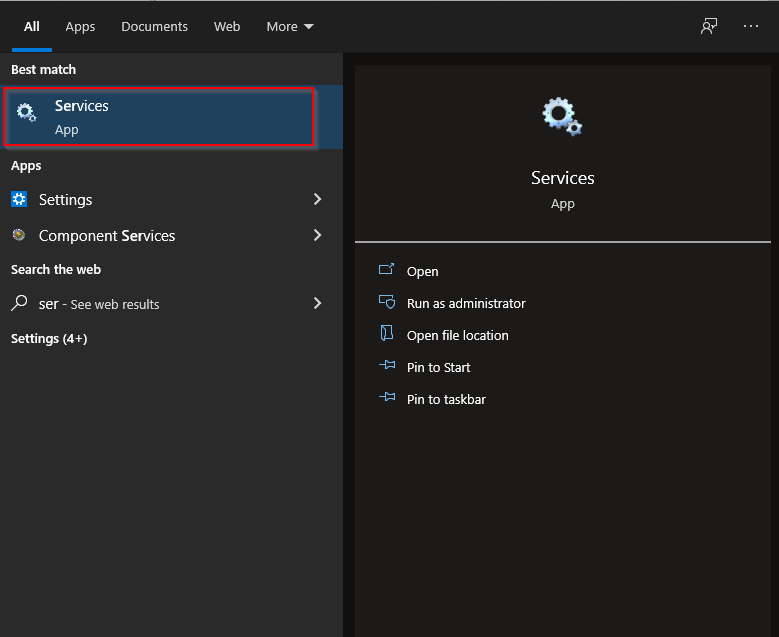
Step 1: In desktop, go to “Start“, search for “Services“.
Step 2: Look for Autocount FnB API or Autocount POS API.
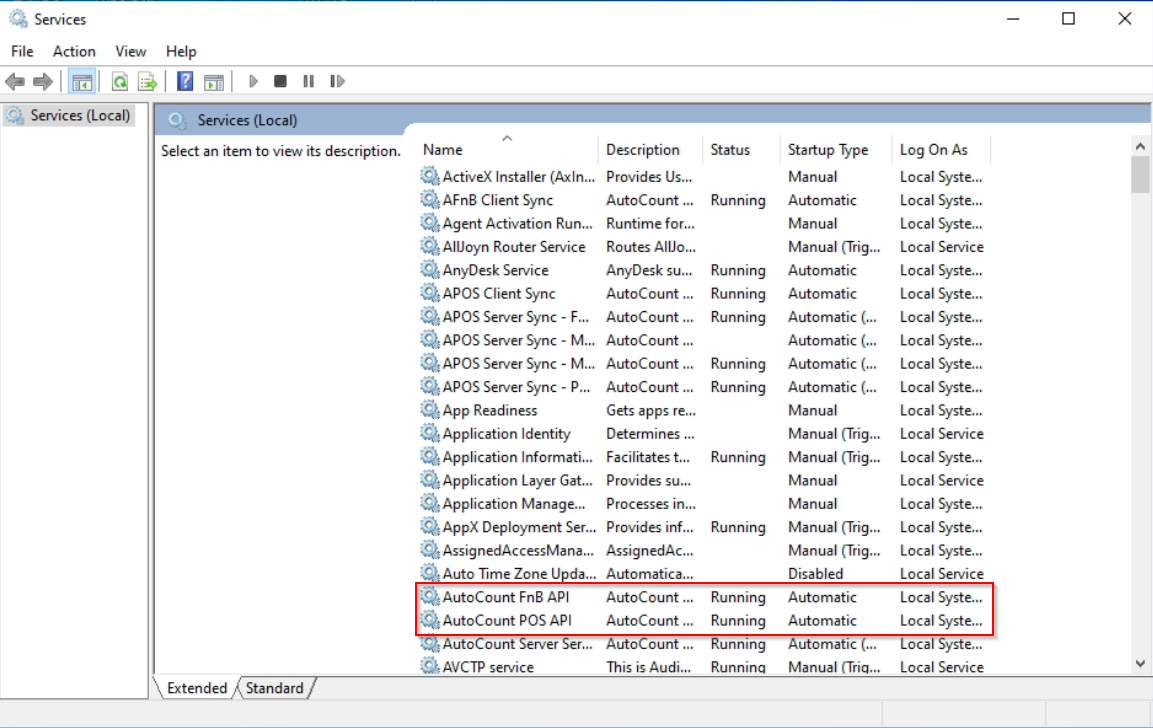
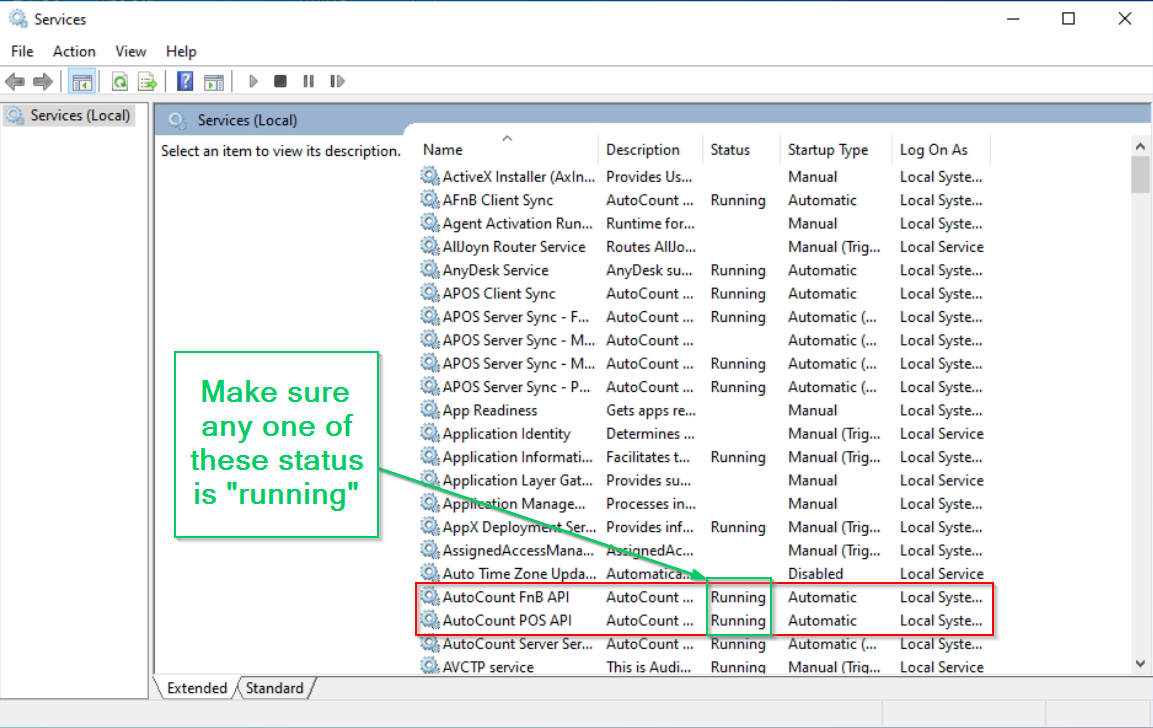
Step 3: Check the status of Autocount FnB API and Autocount POS API. Make sure any one of them is “running“.
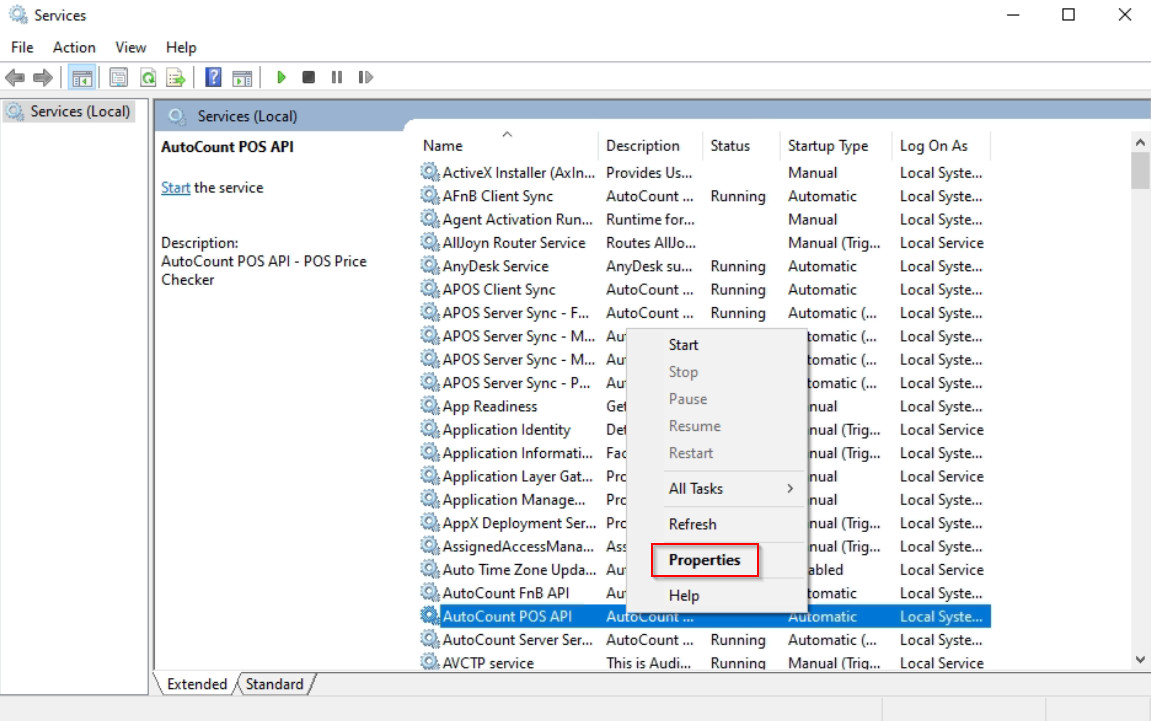
Step 4: If none of them are “running“, right click on Autocount FnB API or Autocount POS API. Go to “Properties“.
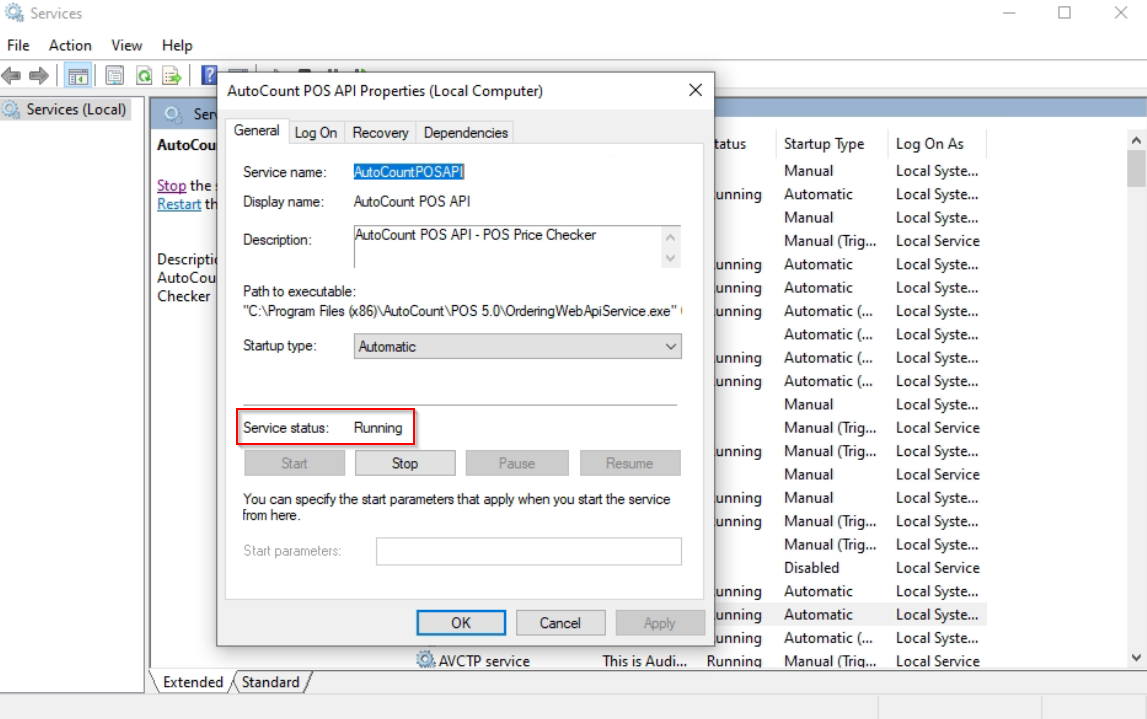
Step 5: In the Properties window you have opened, make sure the “Startup type” is “Automatic“. Then, press “Start“.

Step 6: After finish loading, the “Service status” will change to “Running“. Press “OK” and check whether your receipt printer is working now.
Optional Steps (If problem is not solved) #
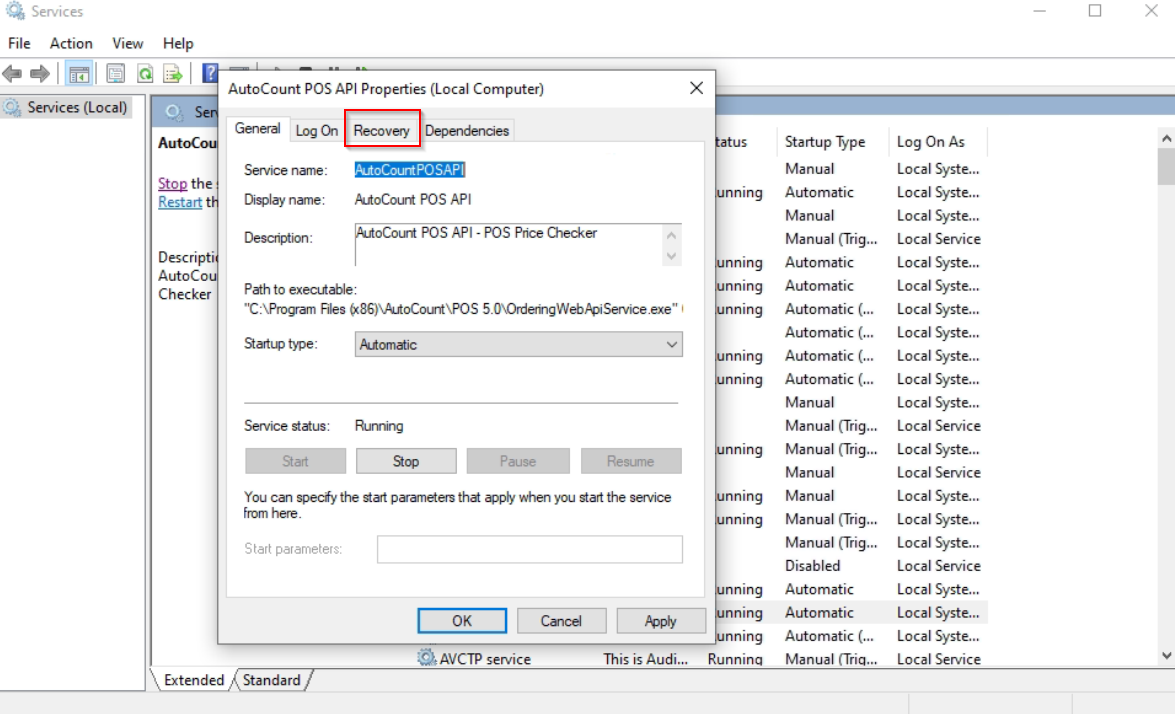
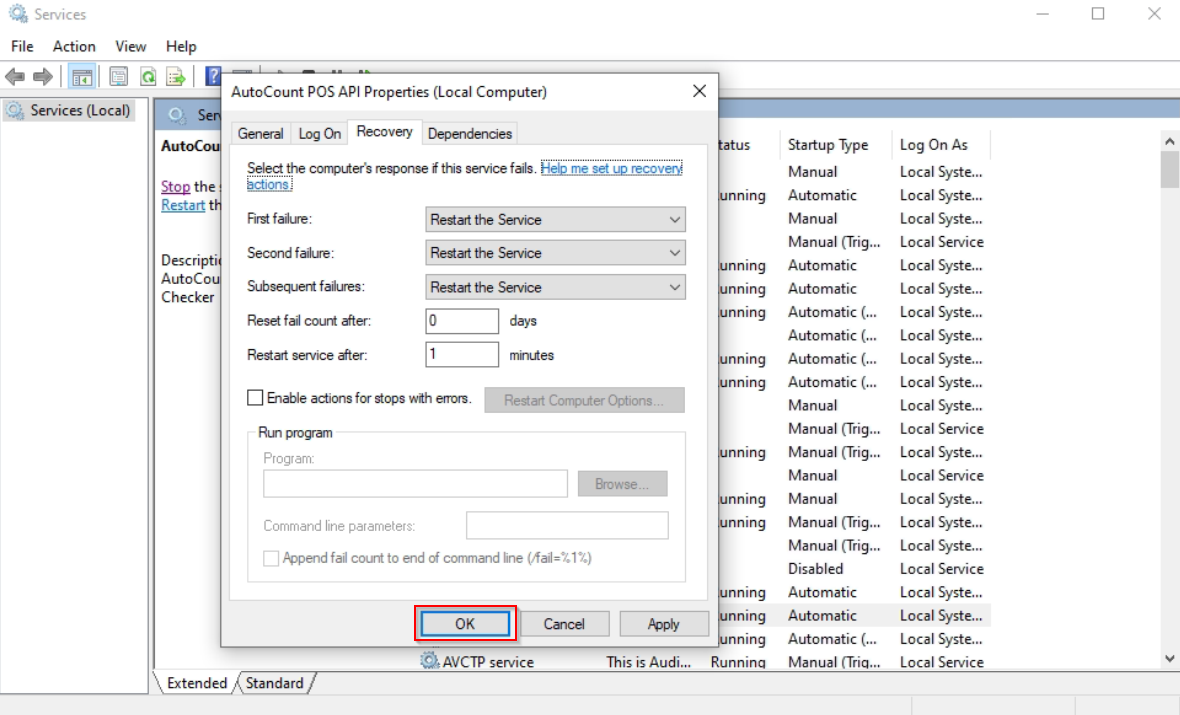
Step 7: In the same Properties window, go to “Recovery” tab.
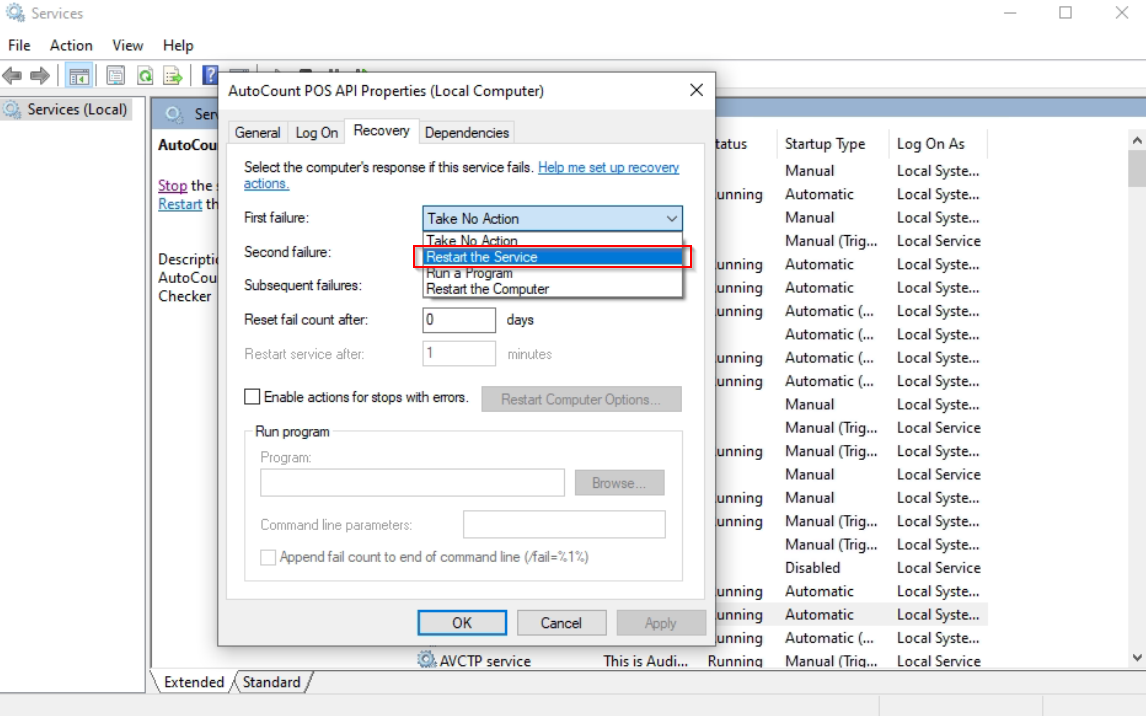
Step 8: Choose “Restart the Service” for “First failure“, “Second failure” and “Subsequent failures“.
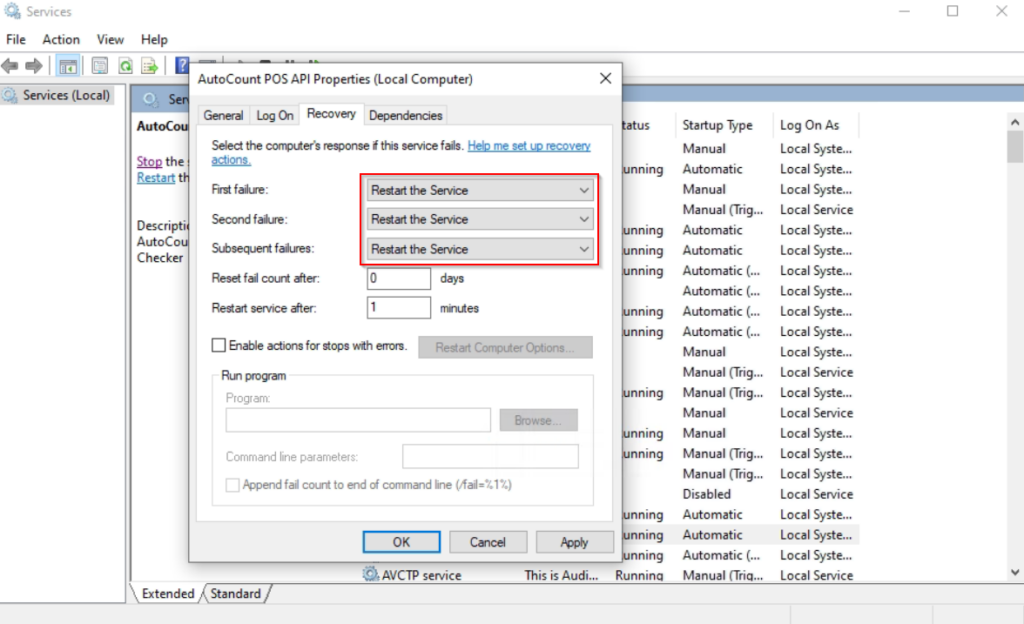
Step 9: Press “OK“. Your receipt printer should be working now with Autocount.
Credits: Webstation.my
Related Posts: How to Attach Account Book in AutoCount?


