AR: Debtor Statement – Send Batch Mail #
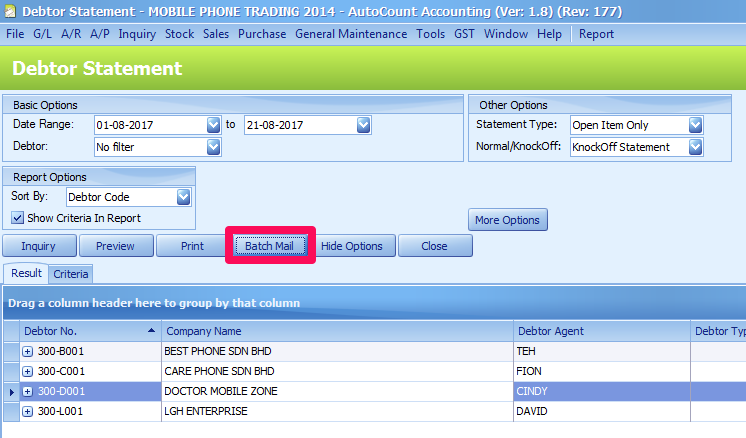
AutoCount Do Have Batch Mail Function For Debtor Statement Report. You May Look For Batch Mail Button In Debtor Statement Report.
There Are 3 Things You Must Maintain Before You Can Use The Batch Mail Function:
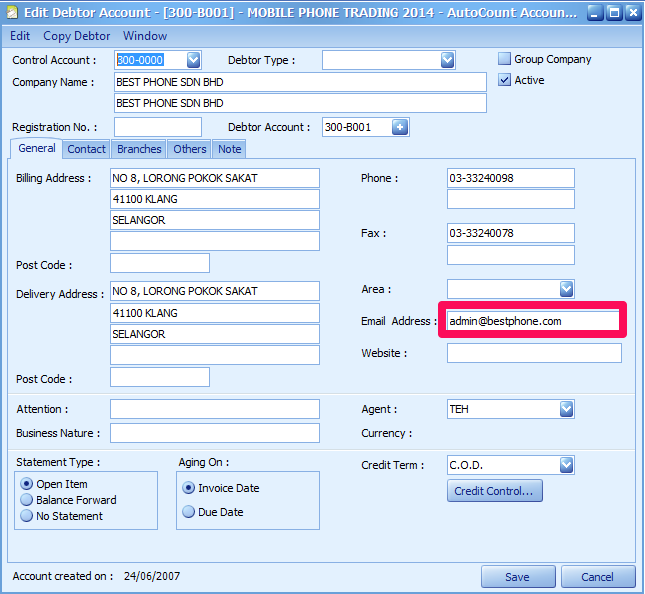
1.Debtor Email Address.
Maintain Your Debtor’s Email Address In A/R > Debtor Maintenance.
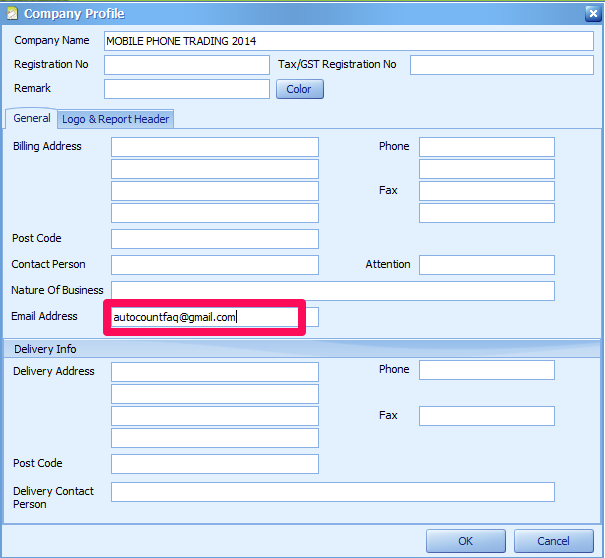
2.Company Email Address.
Maintain Your Company Email Address in General Maintenance > Company Profile.
3. SMTP Server.
Maintain Your SMTP Server In Batch Mail Screen > Setting.
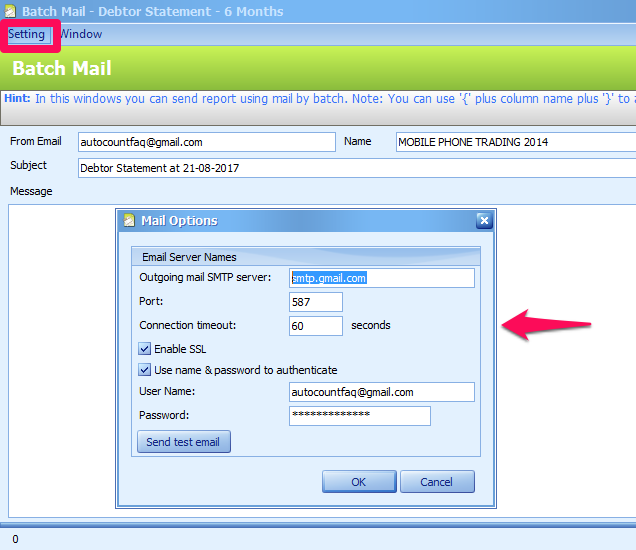
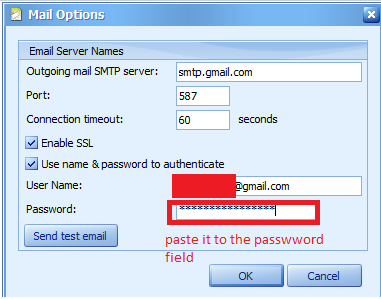
Sample For Gmail Default SMTP Settings As Below:
Outgoing Mail SMTP Server : smtp.gmail.com
Port : 587
Enable SSL : Check The Checkbox
Use Name & Password To Authenticate : Check The Checkbox
User Name :Your Gmail Address. (e.g. example@gmail.com)
Password :Your Gmail App passwords
Note: If You Have Your Own SMTP Server, You Need To Configure It With Your SMTP Server Information.
There Is A Message Box For You To Key In Your Message, Clicks On Send Button After Keyed In Your Message.

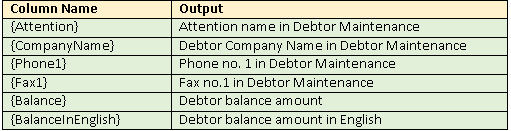
Note: You Can Use {Column Name} To Define The Info You Want To Appear Inside The Email Message. Below Is Some Frequently Used Info:
Set Batch Mail #
Generate An Application Password To Be Used In AutoCount. App Passwords Can Only Be Used With Accounts That Have 2-Step Verification Turned On.
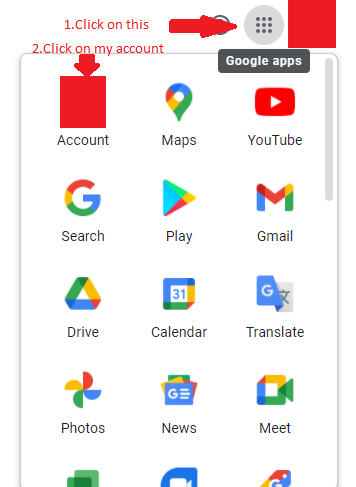
To Generate Application Password, Please Go To Your Google Account.
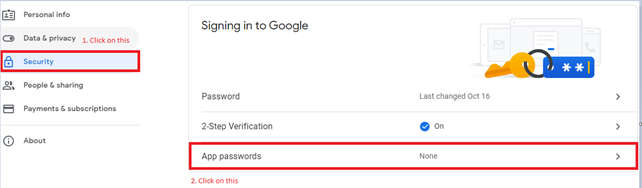
Go To Security, At The “Signing In To Google” Section, Click On “App passwords”, And Login Again Your Gmail.
Select The App(Mail) And Device (Windows Computer), After That Click On “Generate” To Generate Application Password.
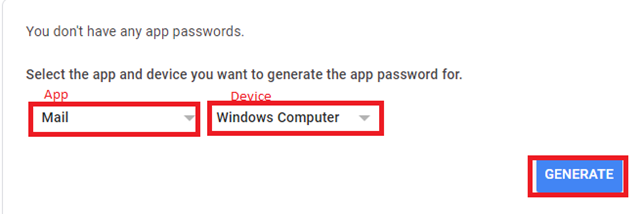
Copy The App Password Use It In AutoCount.
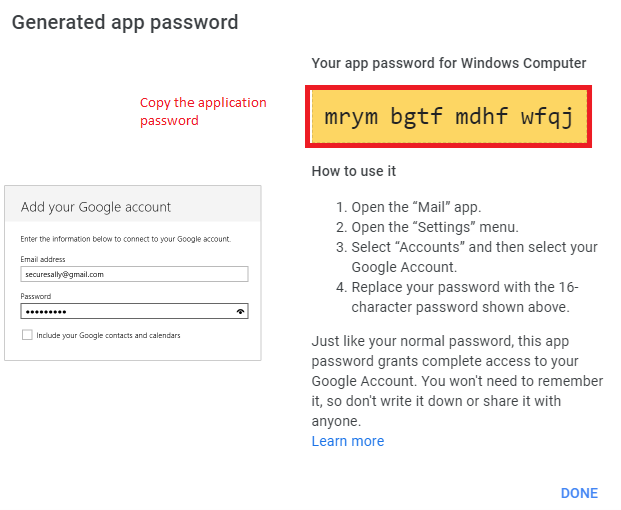
At Mail Options, Paste The Password. Users Are Now Able To Use Gmail Account In AutoCount Batch Mail.
Credit By : AutoCount


