Driver installation is a must before you use receipt printer on any systems. However, the installation process will be different according to the system you are using. We are going to show you how you can install the driver properly with a few articles.
Let’s start it from Windows
First, please download the driver from this link:
Receipt Printer Driver Download #
Virtual COM Port Driver Download #
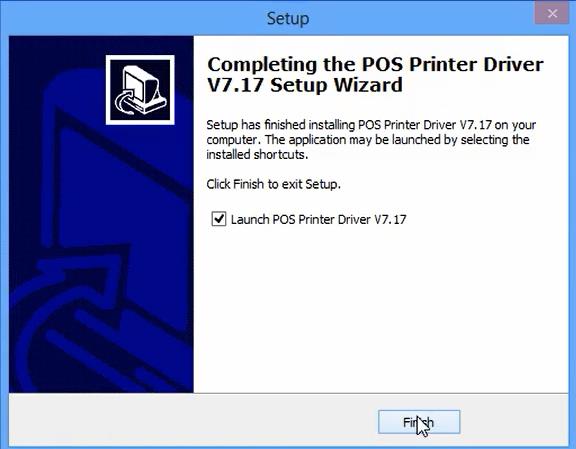
Click the driver to start installation, accept the agreement and two “click” to install it on your system, click “finish” to the next step,
The below interface will show up for selections:
To select the system version. If you are using Windows 8, just select it and go to select the interfaces,
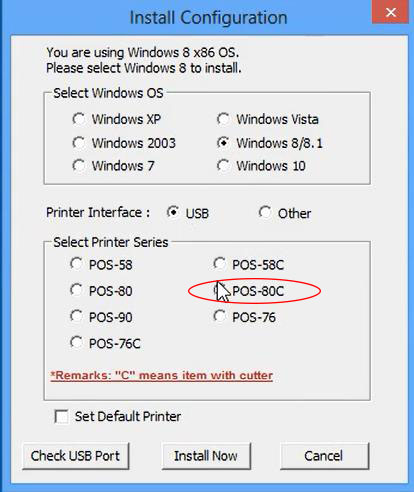
If you are going to connect with USB, just click “USB” as your connection method, if you are going to use the other interfaces, just click “Other”.
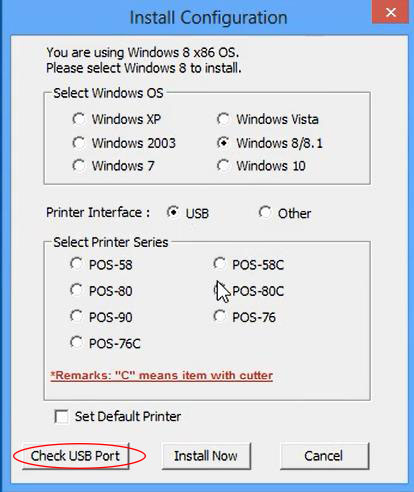
You will see some product series, If you are using 80 Series with Cutter, please select “POS-80C” to check USB Port and click “Install Now” to finish the installation process.

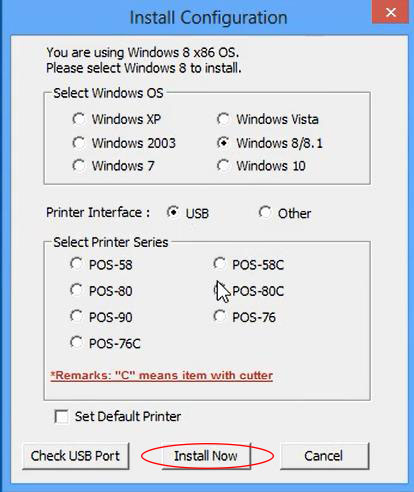
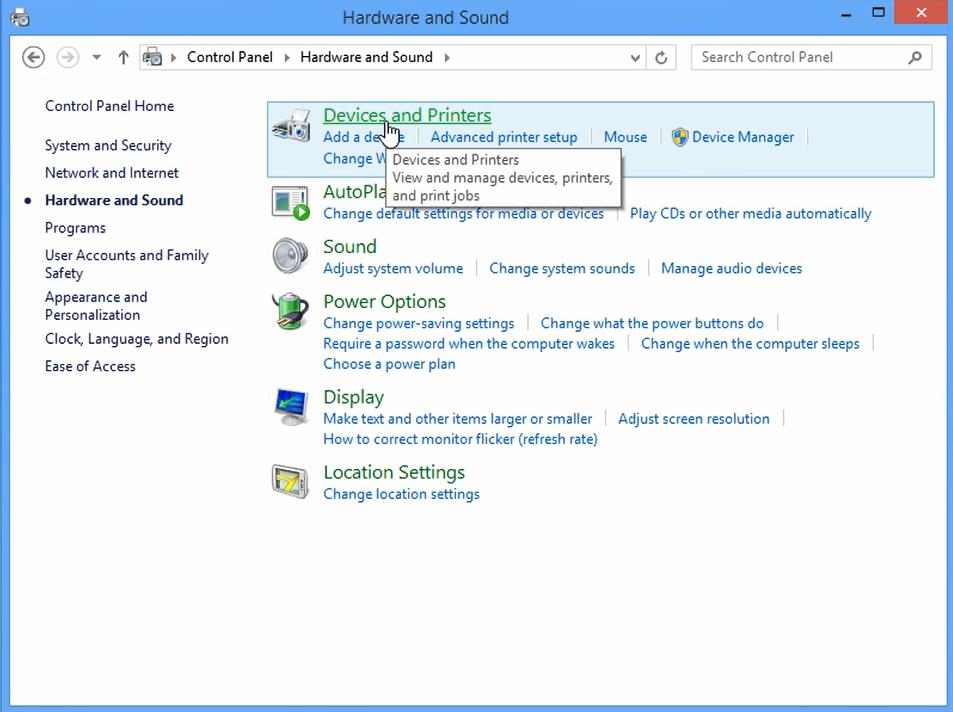
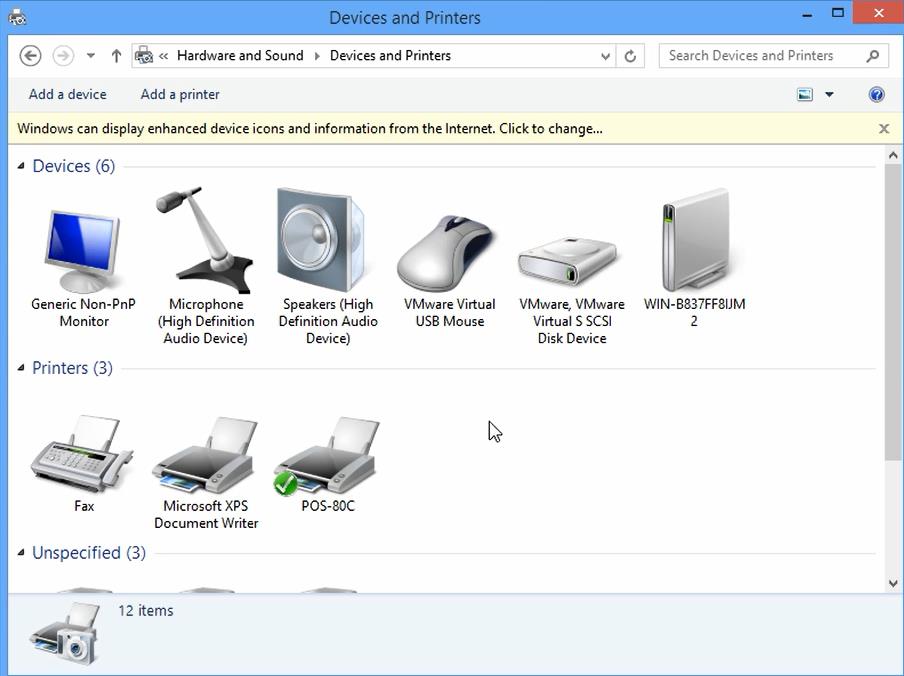
Then, go to Windows Control Panel, select Device and Printers, Click it and you will find “POS-80C” showing up in printers, click it you can start printing test.
Drivers Installation on Windows Tutorial Video :


