How to Bulk Assign Item to Rack with Excel #
Assign your item with a rack for a better reference of stock location when doing the order fulfillment. The rack location of the item will be shown at the Packing List or Pick List.
Use Excel to update and bulk import the data for the item rack assignment.
Step 1: Navigate to All Inventory Items from the Inventory menu.
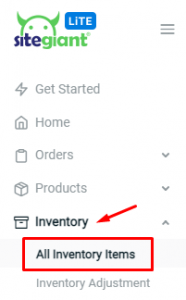
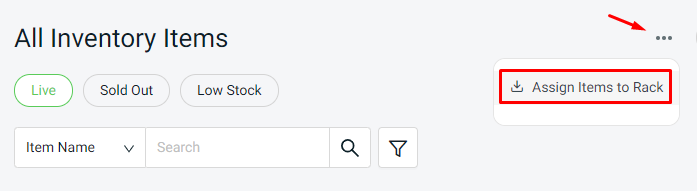
Step 2: Click on the More (…) button and choose ‘Assign Items to Rack‘.
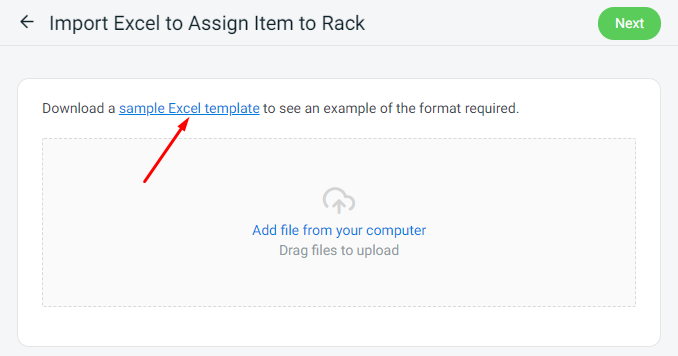
Step 3: Download the sample Excel template.
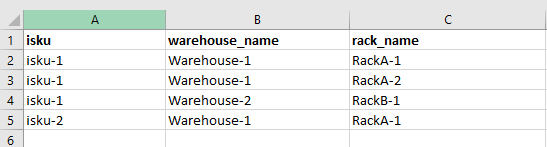
Step 4: Fill in the data for Inventory Item iSKU, Warehouse Name and Rack Name.
Note: You may create or manage your Warehouse and Rack from the Inventory > Warehouses menu. – How to Manage Warehouse & How to Manage Rack & Rack Group
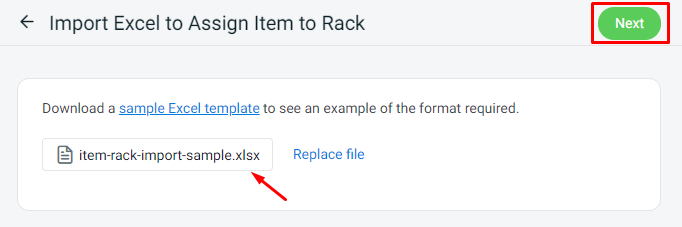
Step 5: Once done filling up the rack in the Excel file, upload it and click on the ‘Next‘ button.
Step 6: Click ‘Proceed‘ if there is no error.

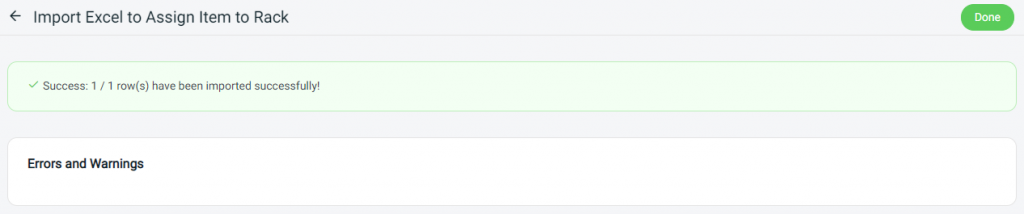
Step 7: System will notify for the succeed imported data, then click on ‘Done‘.
For Latest Guide: Click here
Credits: SiteGiant Lite


