How to Set Up E-Invoice #
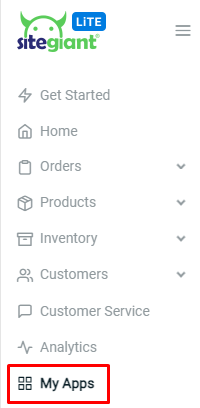
Step 1: Navigate to My Apps from the dashboard menu.
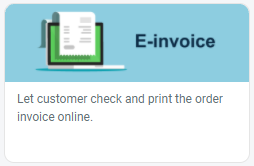
Step 2: Click into E-Invoice apps.
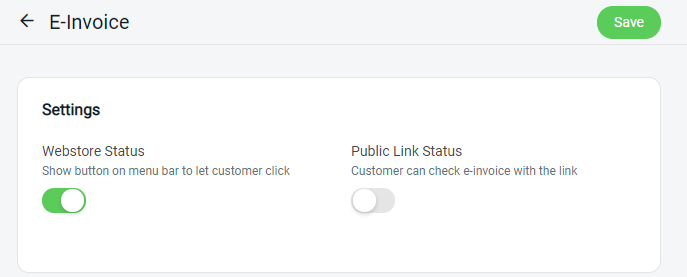
Step 3: Enable status for ‘Webstore Status‘ and Save the settings.
Note: Kindly ignore Public Link Status as this feature is still in development.
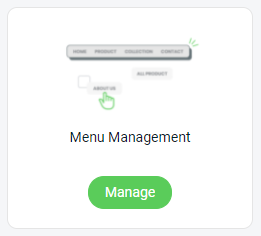
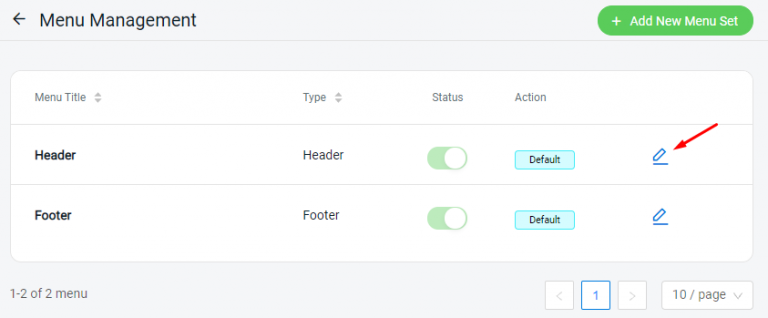
Step 4: Then, go to Menu Management from the Webstore dashboard.
Step 5: Edit the menu (Header/Footer) to add menu navigation for E-Invoice.
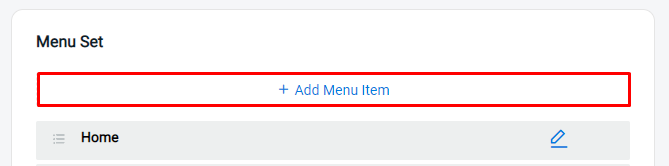
Step 6: Click on ‘Add Menu Item‘ to add a new menu.
Step 7: Insert the Page Name, choose Link to Internal page. Then, select the page as ‘App‘ and choose ‘E-Invoice‘.
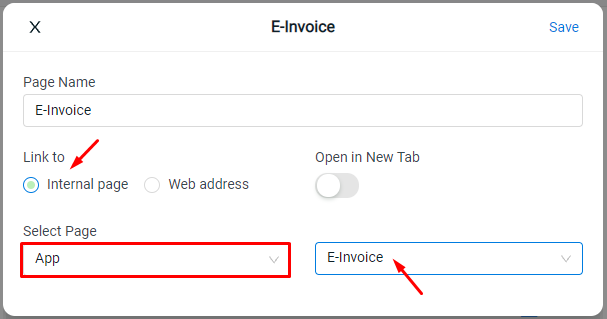
Step 8: Remind to ‘Save‘ the Menu Management after edit.

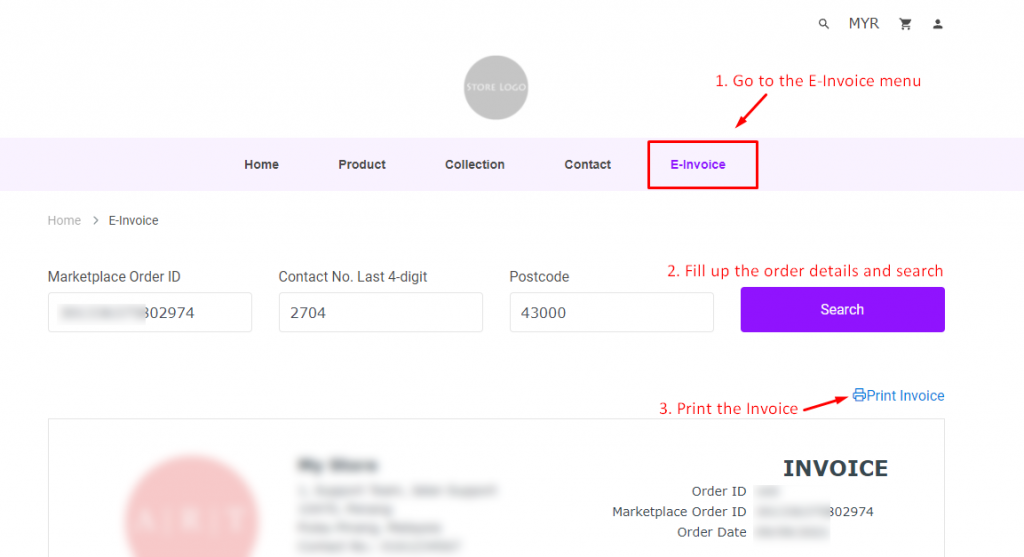
Step 9: From the customer’s perspective, they can print out the invoice themselves from the webstore frontend.
Note: You may have to provide your customer with your SiteGiant Lite webstore domain name link.
For Latest Guide: Click here
Credits: SiteGiant Lite


