How to Use Shopee Product Watermark #
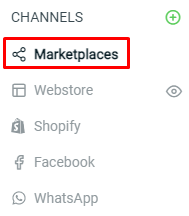
Step 1: Go to Marketplaces.
Step 2: Select Shopee Product Watermark.

Step 3: Click on View All Watermark button.

Step 4: Select ‘Add Product Watermark’.

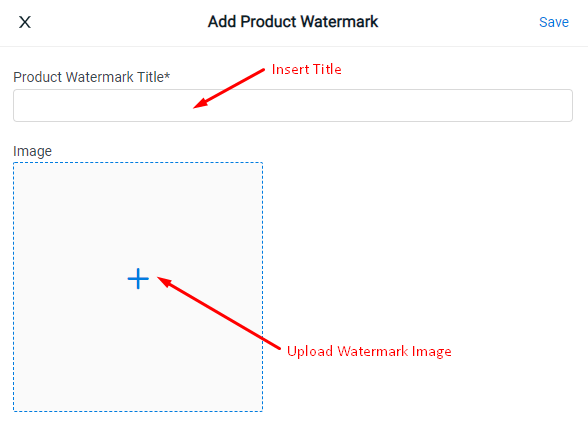
Step 5: Insert Product Watermark Title and upload the Watermark image.
Recommended Watermark Size: 1000 x 1000 pixels (png format image & transparent background)
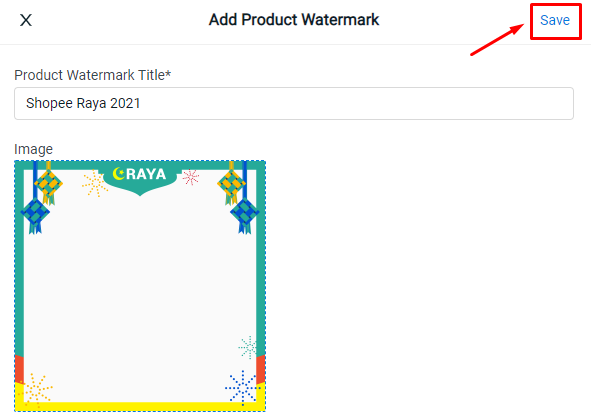
Step 6: Click ‘Save‘ once you have inserted your Product Watermark Title and uploaded the Watermark image.
Step 7: Click on the Back button to view Product list.

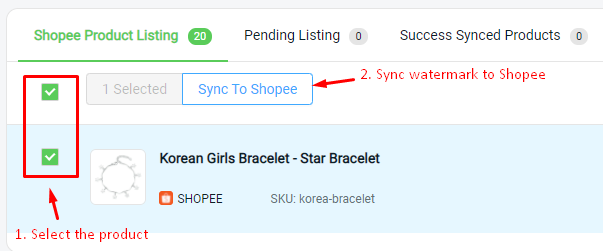
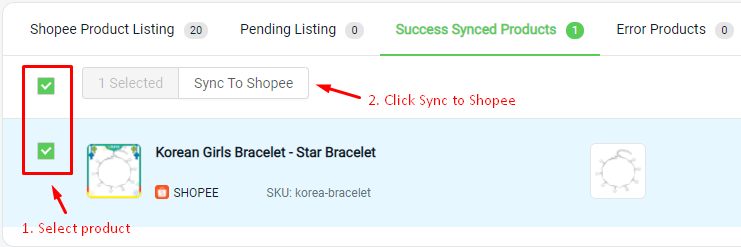
Step 8: Select the Products you would like to apply the Watermark and click on Sync to Shopee.
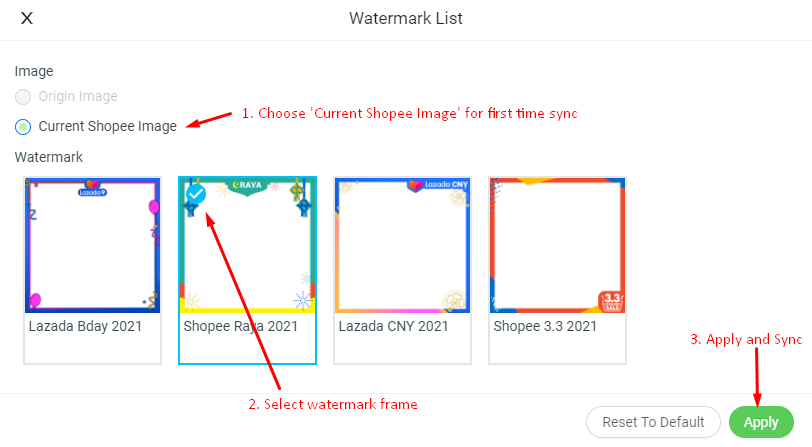
Step 9: Choose the Image source. Then, select the Product Watermark to apply to your product image.
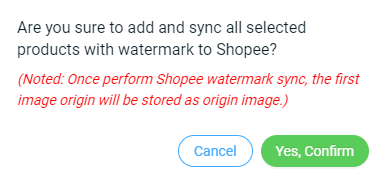
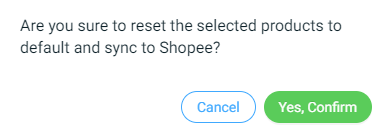
Step 10: A pop up will appear, click ‘Yes, Confirm’ to proceed.
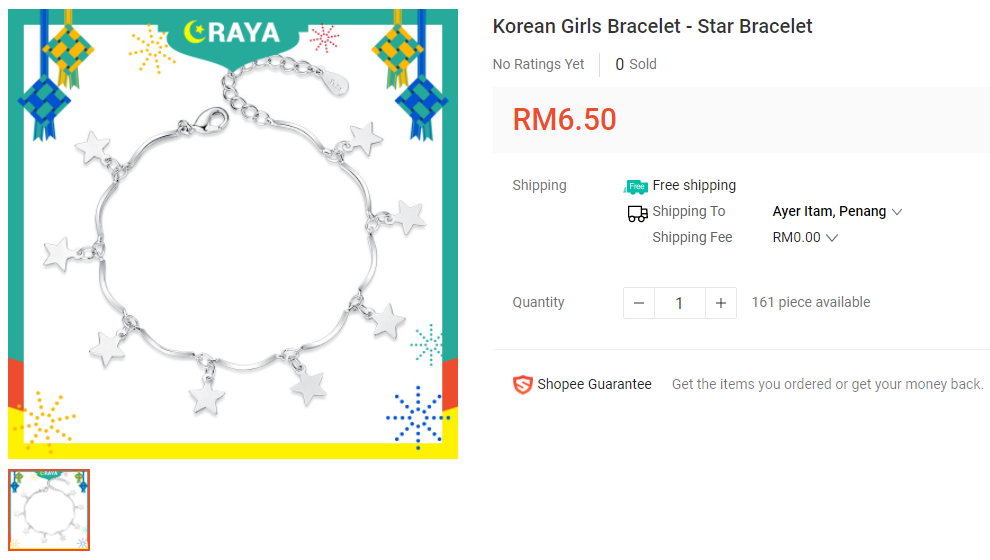
That’s it. You’ll be able to see your Product images with the Watermark on Shopee:
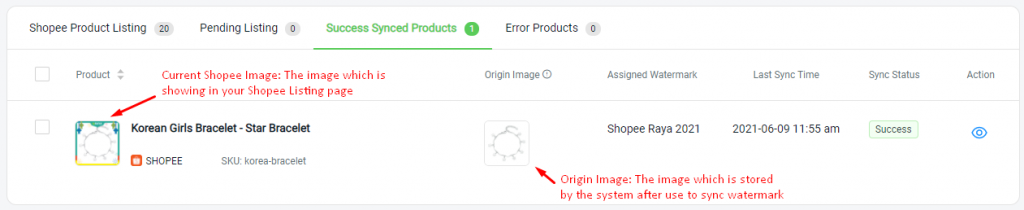
Step 11: The product which watermarks synced successfully will be listed at the Success Synced Products tab. Moreover, the product image that use to sync with the watermark will be kept in the Origin Image.
Additional Information #
How to Download Watermark Template. #
Step 1: In the Shopee Product Watermark page, click on ‘View all Watermark’ located at the top right corner.

Step 2: Then, click on the More button (‘…’) and select Download Template.

Step 3: Click to download the watermark template accordingly.

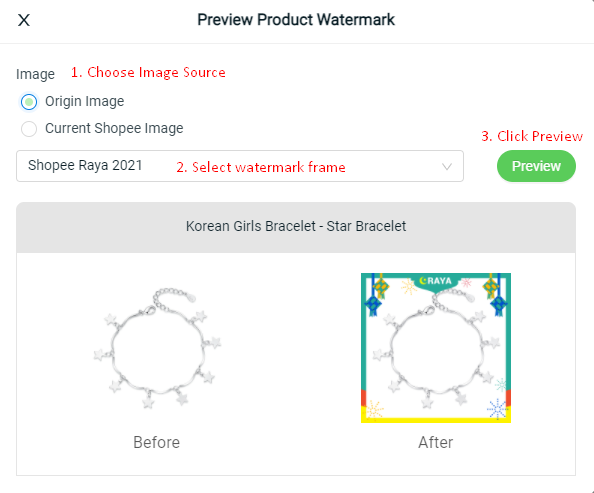
How to Preview Product Image with Watermark #
Step 1: Click on the Preview icon.
![]()
Step 2: After that, select the Watermark you’ll like to use and click on ‘Preview’ to see how the Watermark looks like on the product image.
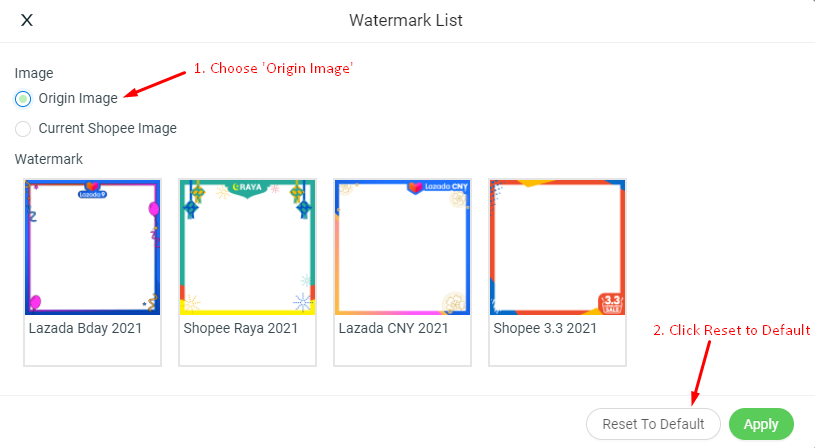
How to Remove Product Watermark #
Step 1: Select the product and click on Sync to Shopee.
Step 2: Click on ‘Reset to Default’ to remove the product Watermark.
Step 3: Select Yes, Confirm to proceed and sync updated product image into the marketplace.
For Latest Guide: Click here
Credits: SiteGiant Lite


