How to Add Login with Google #
Create New Project #
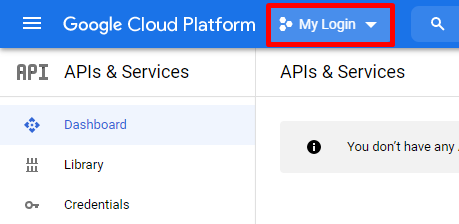
Step 1: Go to Google Cloud Platform APIs.
Step 2: Click on My Login or select a project.
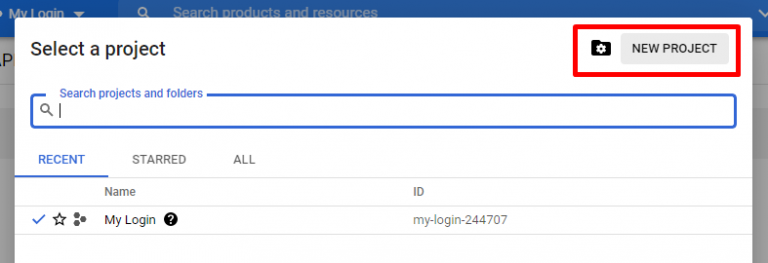
Step 3: Then, click on ‘New Project‘ to create a project for SiteGiant Lite store.
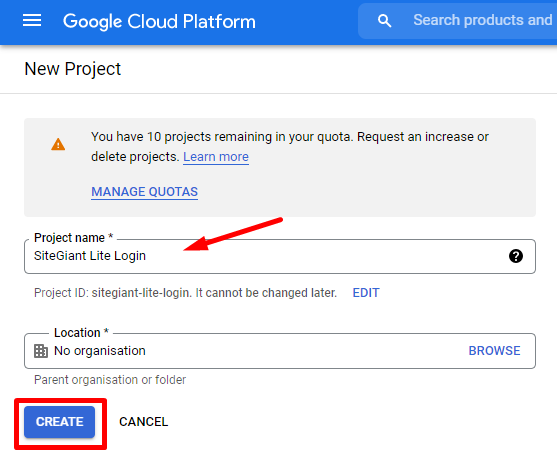
Step 4: Insert the Project name and Create.
Setup OAuth Consent Screen #
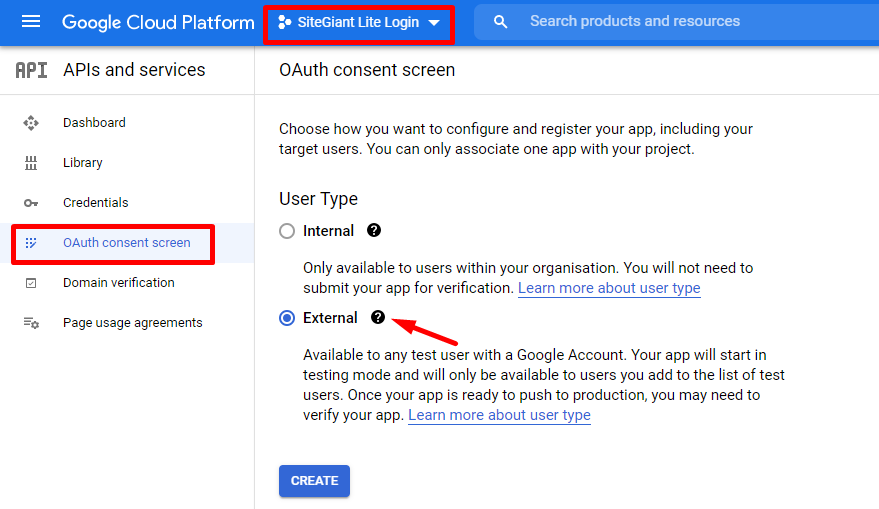
Step 1: Make sure you are in the Project that you created, then go to the OAuth consent screen. Then, choose User Type as ‘External‘ and click Create.
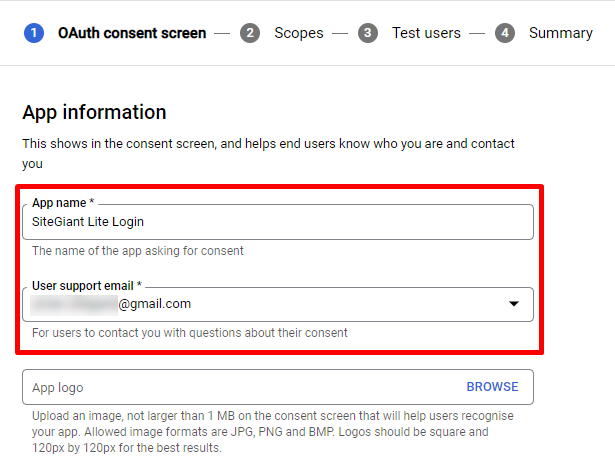
Step 2: Fill in the App name and User support email.
Step 3: Scroll to Authorised domains session and Add Domain for your webstore URL, without the https://. Key in the email address of your own, thus Save and Continue.
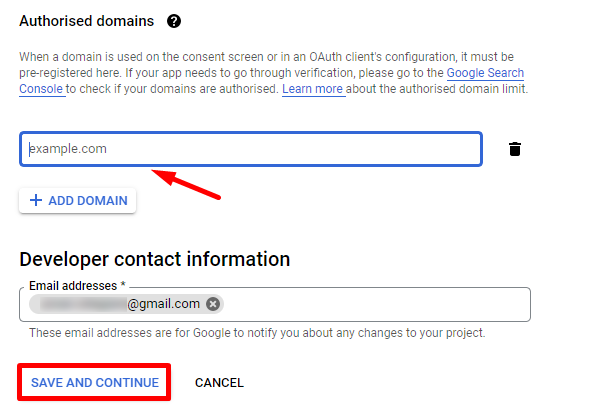
Step 4: Save and Continue the steps till the end, and click on Back to Dashboard.

Create Credentials #
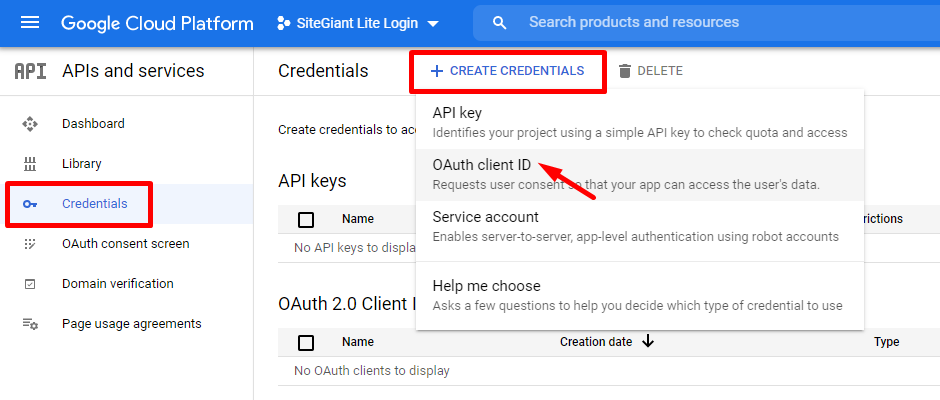
Step 1: Go to the Credentials menu and Create Credentials by choosing OAuth client ID.
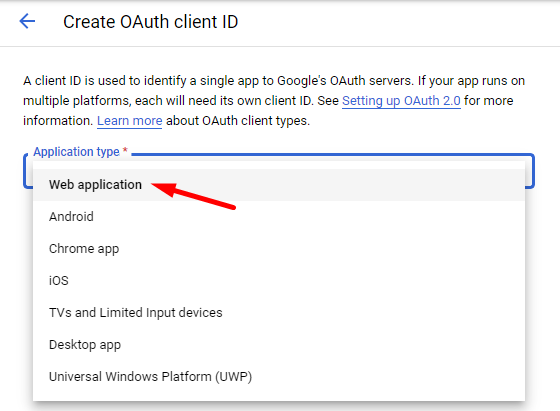
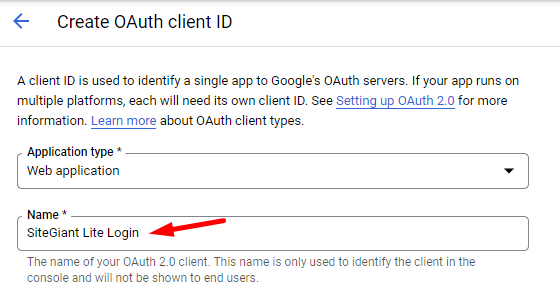
Step 2: Choose Application type as ‘Web application‘.
Step 3: Insert Name for the credentials.
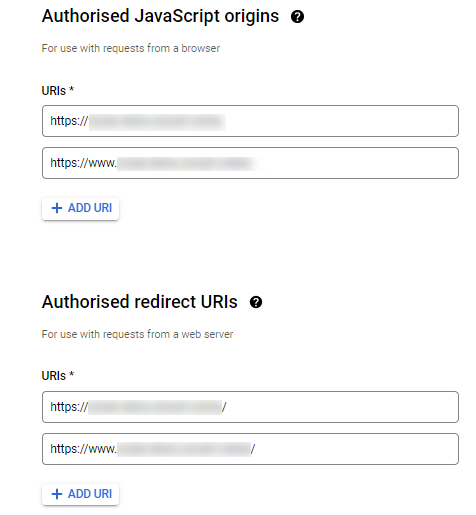
Step 4: Click ‘Add URI‘ and insert your domain name.
Authorised JavaScript origins
https://yourdomainname.com
https://www.yourdomainname.com
Authorised redirect URIs
https://yourdomainname.com/
https://www.yourdomainname.com/
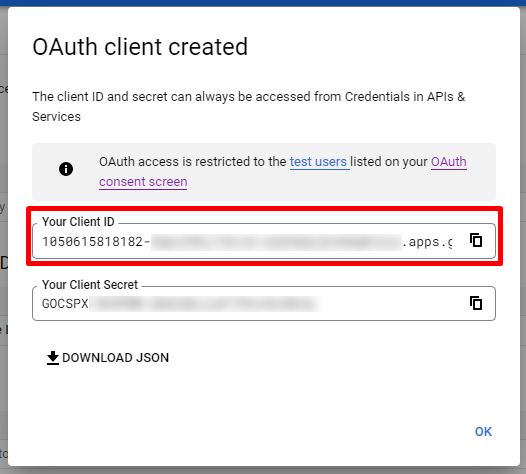
Step 5: Once done, click on the ‘Create‘ button.

Step 6: Copy the Client ID created.
Integrate Google Login #
Step 1: Go to My Apps menu from SiteGiant Lite Dashboard.

Step 2: Then, click on Google Login.
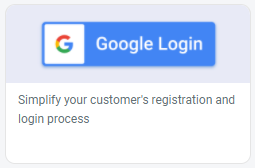
Step 3: Paste the Client ID get from Google Cloud Platform APIs.

Step 4: Enable the Status and ‘Save‘.

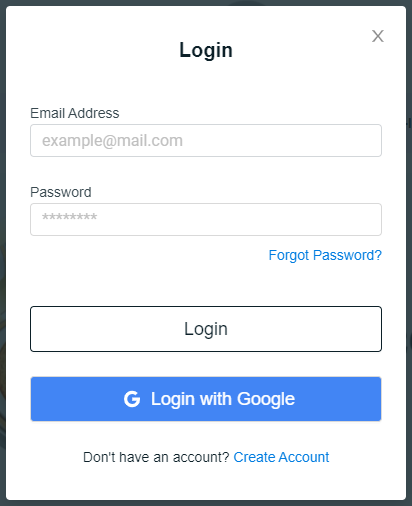
Step 5: Customer is now able to Login with Google from your SiteGiant Lite webstore.
For Latest Guide: Click here
Credits: SiteGiant Lite


