How to Manage Navigation Menu #
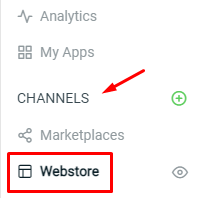
Step 1: Go to Webstore from SiteGiant Lite Dashboard.
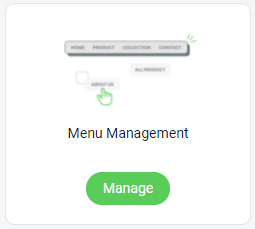
Step 2: Click on ‘Manage’ for the Menu Management.
Step 3: By default, there will be a Header and Footer menu created.
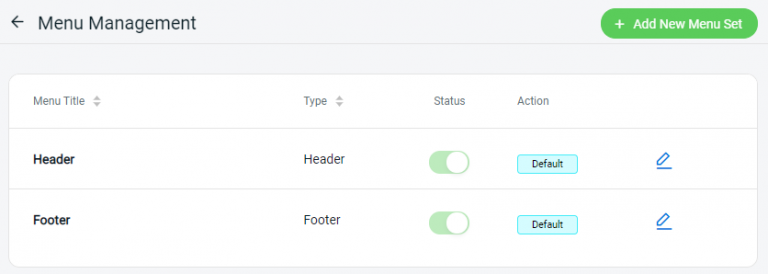
Step 4: Click on the ‘Edit‘ button to amend the navigation menu.

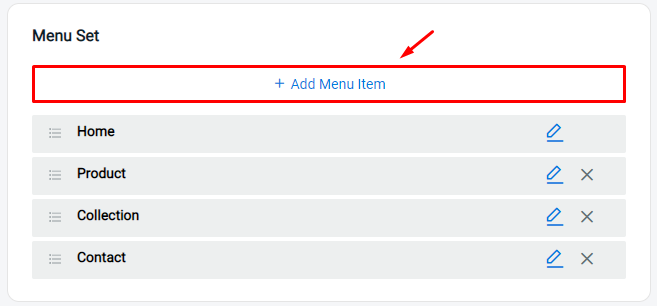
Step 5: You can ‘Add Menu Item‘ for the new menu. Or, click ‘Edit‘ to change the existing menu.
Step 6: Insert the Page Name, and select the menu to link with an Internal page or Web address. Enable the ‘Open In New Tab’ if you want the page to be opened in a new tab once clicked.
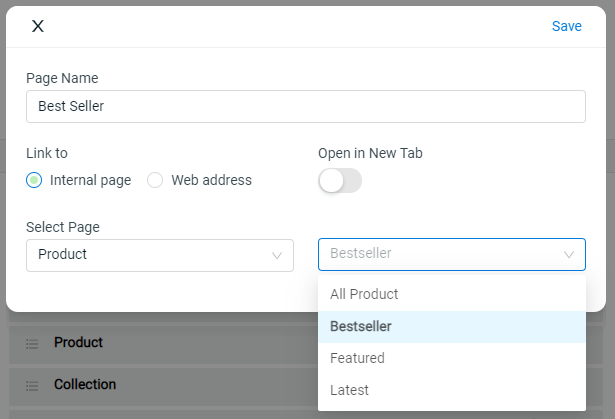
Step 7: Click on the ‘Save‘ button once done editing.
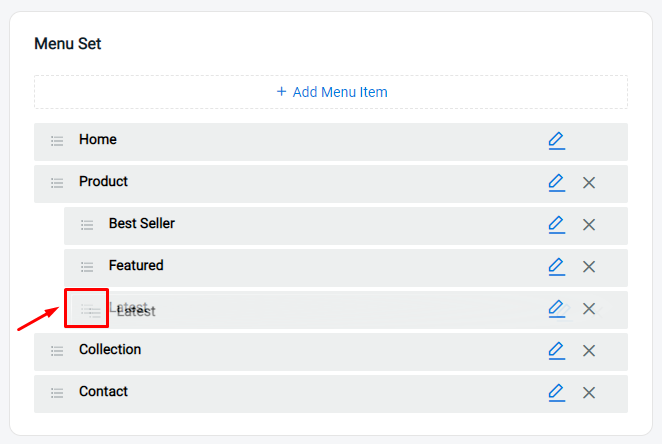
Step 8: You can drag & drop to arrange the menu sequence or make it a sub-menu.
Step 9: Save the settings after amendment.

Step 10: You can also create your own Menu Set for the Header or Footer navigation menu. Kindly make sure you set the Menu Set as ‘Default‘ to apply on your webstore. (optional)

For Latest Guide: Click here
Credits: SiteGiant Lite


