Enable the e-Invoice function as your company will need to start issue e-Invoice #
1. Log in to your Cloud Accounting at: https://accounting.autocountcloud.com/ and go to the Account book you want to enable the e-Invoice function for.
2. On top right, click on ‘Account Book’ setting and from the selection click ‘Settings’.
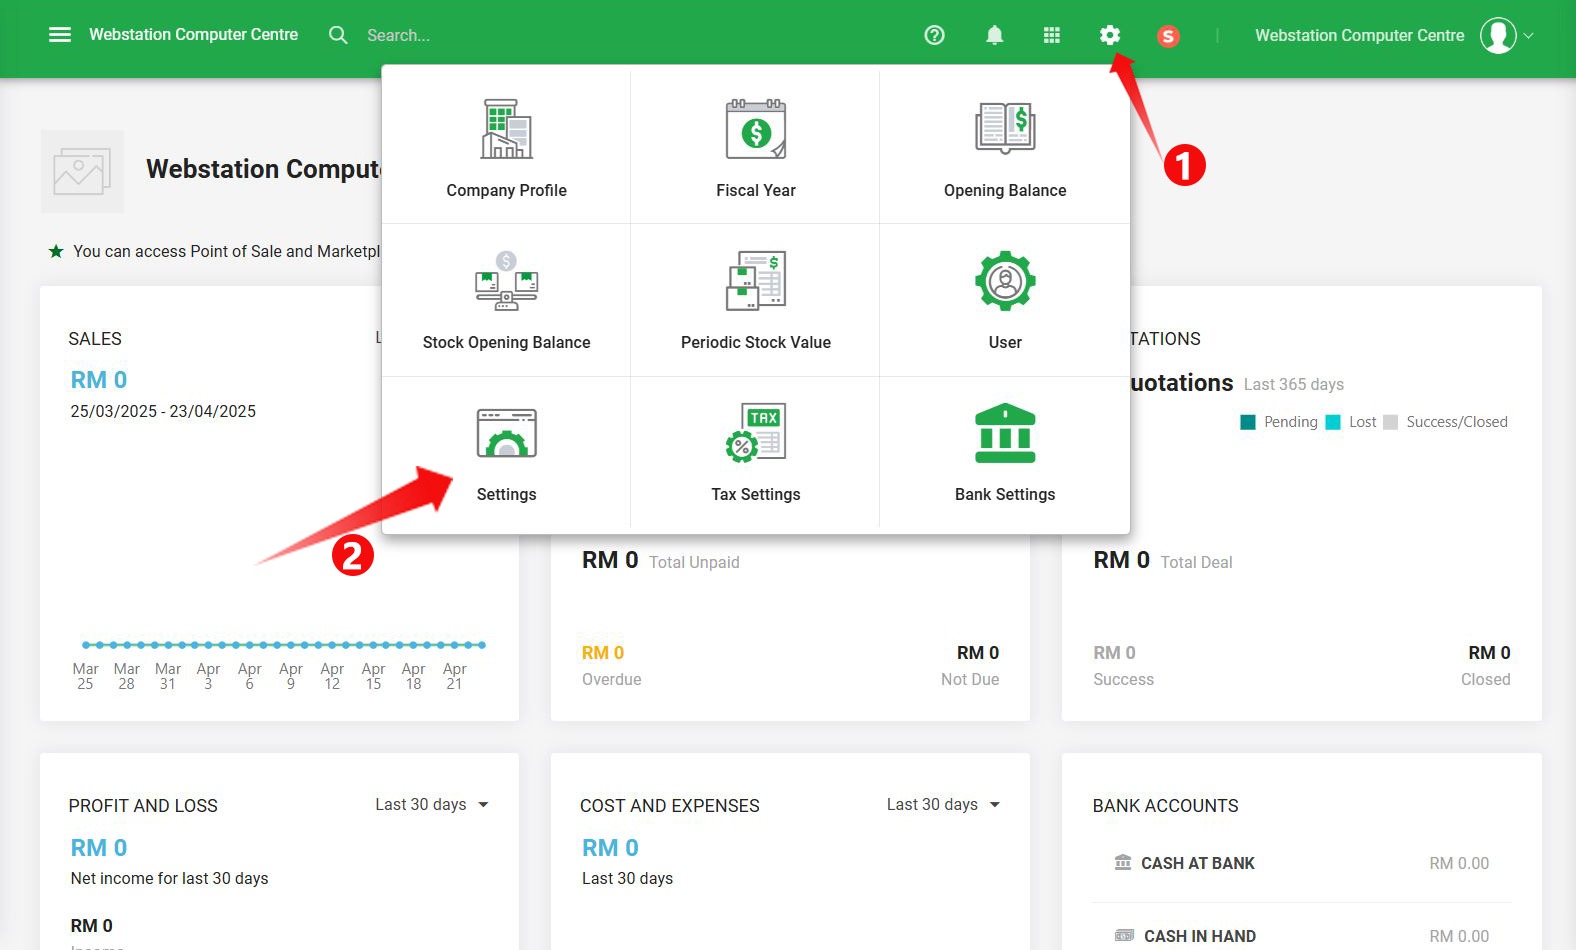
3. Under ‘e-Invoicing’, you can enable the e-Invoice function here.

| Term | Purpose |
|---|---|
| Enable e-Invoice | Once ticked will allow you to access e-Invoice functions |
| Start Date | Set your implementation start date. Invoice’s date which is earlier than the start date will not be submitted for e–Invoice validation. |
| Allow Consolidated e-Invoice | Certain activities or transactions (eg: Sale of any motor vehicle) are not allowed for Consolidated e-Invoice. Ticking this will allow you to submit a Consolidated e-Invoice. |
| Interim Relaxation Period | If you wish to start submitting e-Invoice as usual following your company’s implementation date, eg: 1 Jan 2025. You can set the Relaxation date to 31/12/2024. If you wish to take advantage of the Interim Relaxation Period. Eg: Your company’s e-Invoice implementation start date is 1 Jan 2025, since the Government allows 6 months interim Relaxation Period, you want to start on 1 July 2025, so you set the period until 31 June 2025. So the e-Invoice’s date between 1 Jan 2025 till 31 June 2025 will be consolidated e-Invoice. |
4. Once you have ticked Enable e-Invoice, all the e-Invoice related functions will be available, such as a ‘Malaysia e-Invoice’ module on the left.

Credit By : Webstation


