Table of Contents
How to Manage Rack & Rack Group #
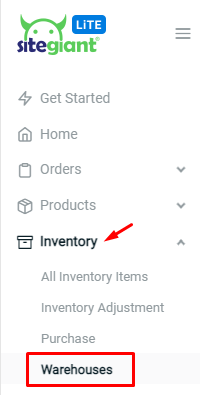
Step 1: Go to the Inventory menu, and select Warehouses.
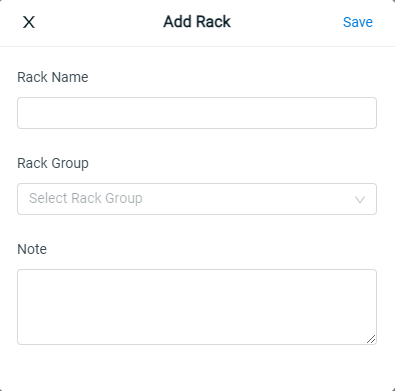
Step 2: Click on the ‘Add Rack‘ button to create a new rack.

Step 3: Fill the Rack Name, and click ‘Save‘.
Note: You may add the rack into a Rack Group for better rack organization. Or, you can write the Note for your own reference. (optional)
Step 4: Then, you can assign the inventory item to a rack for a better fulfillment process by referring to Packing List or PickList.
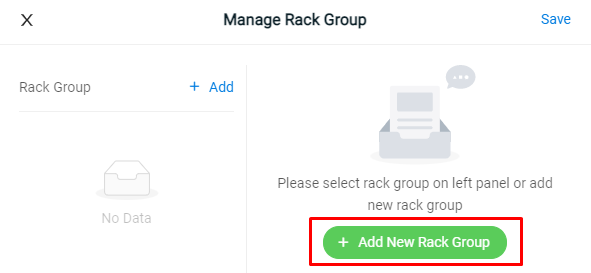
Step 5: You can group the racks with Rack Group from ‘Manage Rack Group‘. (optional)

Step 6: Click on ‘Add New Rack Group‘.
Step 7: Insert the Rack Group Name, and assign the racks into Rack List.
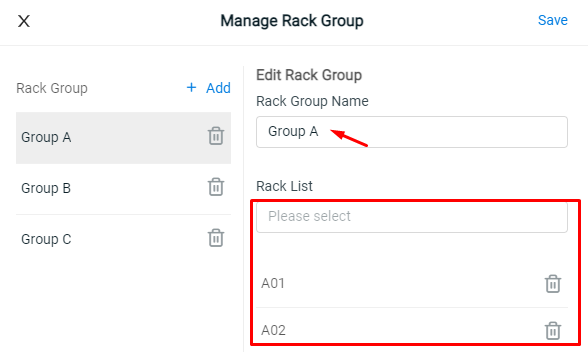
Step 8: Once done, click ‘Save‘.
For Latest Guide: Click here
Credits: SiteGiant Lite


