How to Create Inventory Item in SiteGiant Lite #
Add Inventory Item #
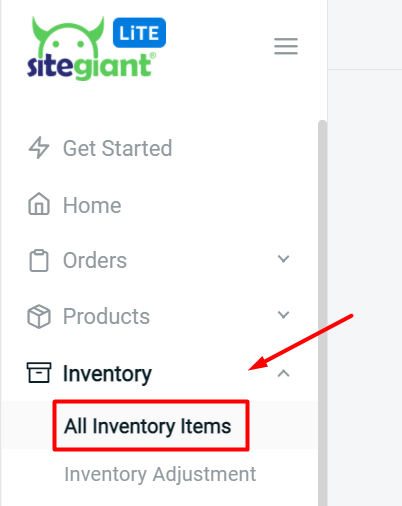
Step 1: Navigate to All Inventory Items from Inventory menu.
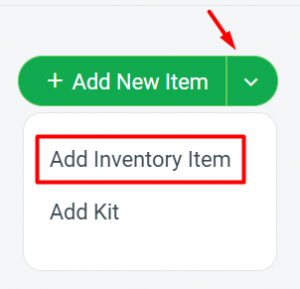
Step 2: Click on the Add New Item button at the right-top, and choose Add Inventory Item.
Step 3: Insert your Item Info accordingly. (Note: * indicates that the information is required)
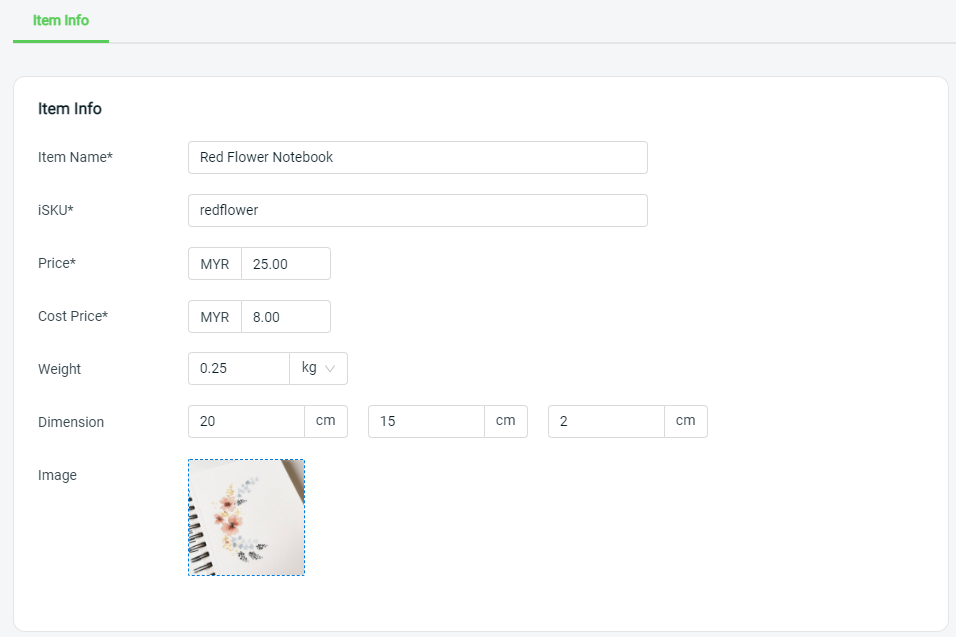
Step 4: Upload your item image (if available).
Item Image Requirements:
- Dimension (width x height) between 600px and 600px
- Size below 300KB

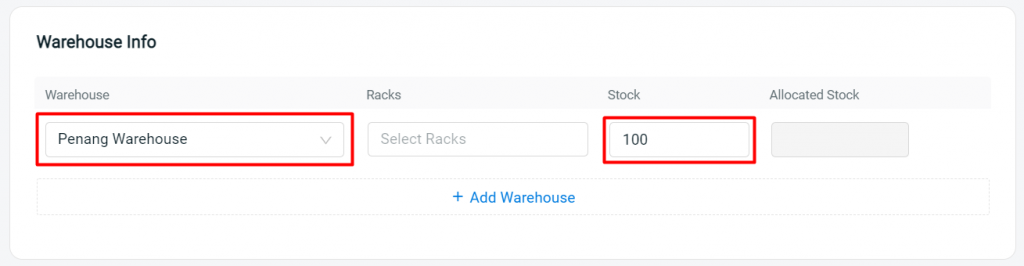
Select Warehouse and Allocate Inventory Quantity #
Step 1: Select your warehouse and insert the stock quantity of your Item.
Note:
– If you have only one Warehouse, that will be your default Warehouse. (If you wish to change your Warehouse name, click here)
– Stock is the total quantity of the item that you have stored in the Warehouse. (For more details on the Inventory Stocks, click here)
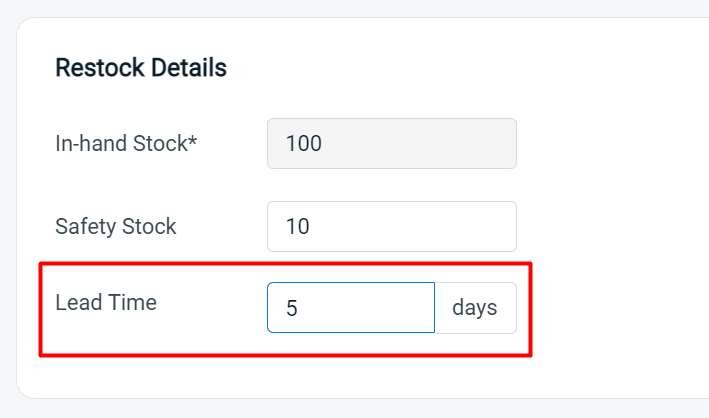
Set Restock Details #
Step 1: Insert the minimum amount of stocks considered to be of low quantity and would require restocking, under Safety Stock.

Step 2: Insert Lead Time (the number of days needed to restock your items).
Step 3: Finally, click ‘Save’ and you’re done!

For Latest Guide: Click here
Credits: SiteGiant Lite
Related Posts: How to Create a New Kit


