How to Create Purchase Order in SiteGiant Lite #
Add Vendor Profile #
Step 1: Go to Purchase from Inventory Menu.
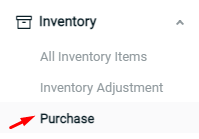
Step 2: Click in to Purchase Order.
![]()
Step 3: Click on the Vendor icon at the right-top.
![]()
Step 4: Click on ‘Add Vendor’ button.
![]()
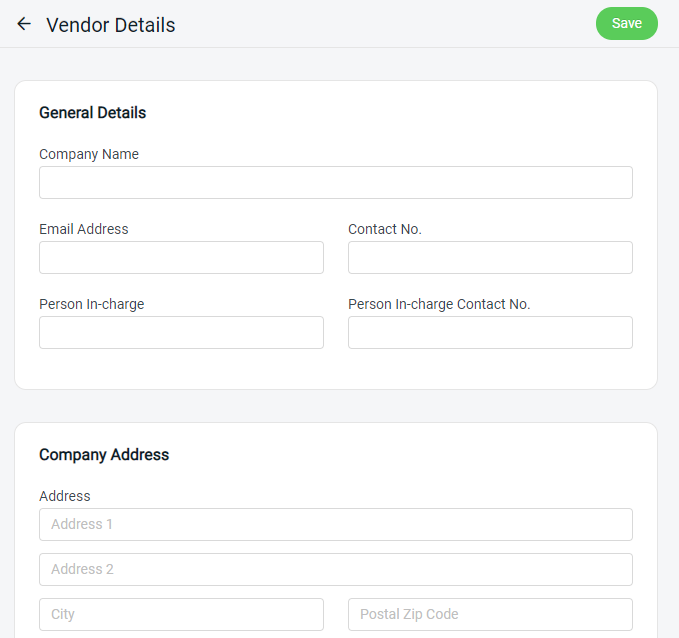
Step 5: Fill in the Vendor Details, and ‘Save’.
Add Purchase Order #
Step 1: Back to Purchase Order page, and click on ‘Add Purchase Order’.
![]()
Step 2: Choose the Vendor Details, Shipping Details, Purchase Order Date and Expected Date.
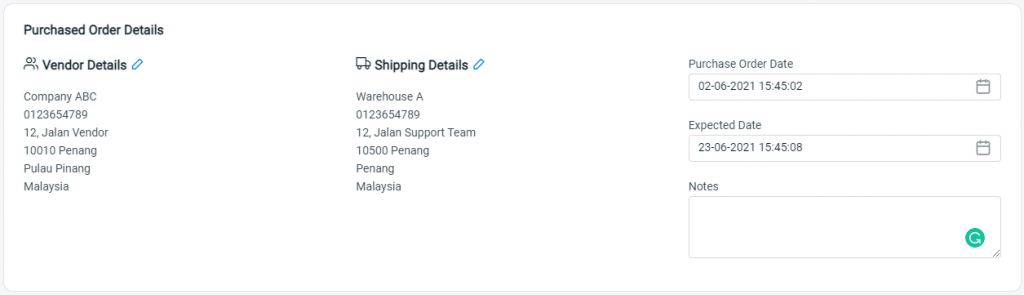
Step 3: Then, ‘Add Item’ for the Purchase Order.
![]()
Step 4: Select the item from your Inventory Item List.
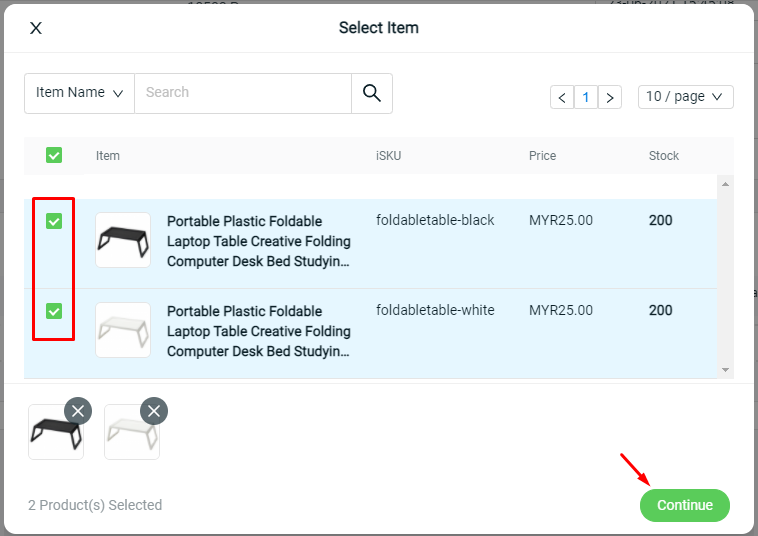
Step 5: Fill up Cost and Quantity. Insert the Supplier SKU for own reference.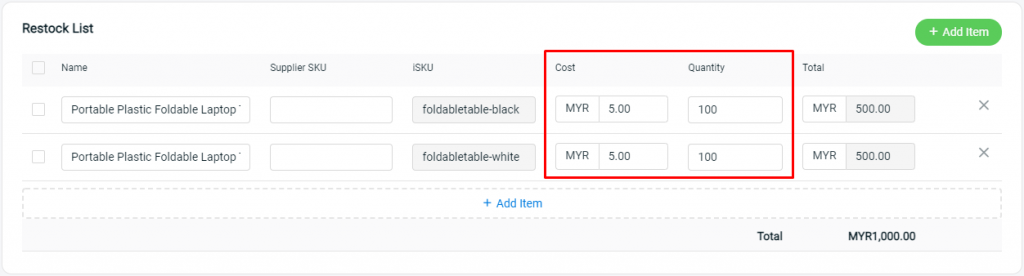
Step 6: Click the ‘Save’ button to create the Purchase Order.
![]()
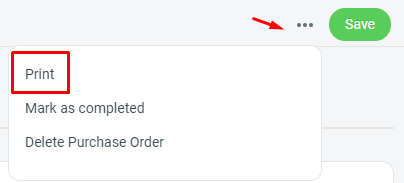
Step 7: Click into the Purchase Order ID, then ‘Print’ the Purchase Order. (optional)
Receive & Stock In #
Step 1: Click on the Purchase Order ID to view the purchase order.

Step 2: Press on the More button of each product, hence choose the stock receive option.
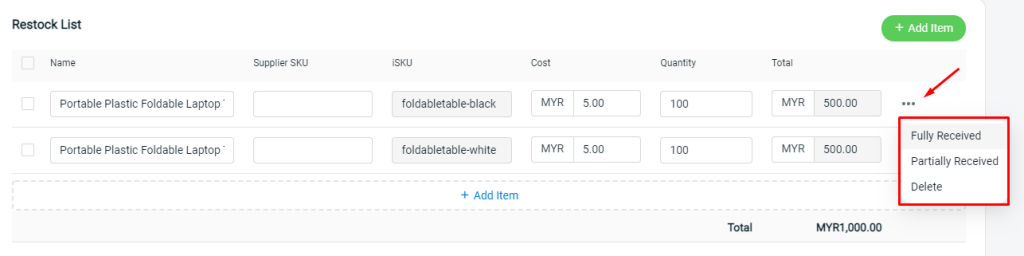
- Select ‘Fully Received’ for the product where the stock had already fully delivered to you.
- Select ‘Partially Received’ for the product where the stock is partially delivered, hence keep track of the stock that had already received.
- Select ‘Delete’ if you wish to remove the product from the Purchase Order.
Step 3: Click on the ‘Save’ button keep the changes made for the Purchase Order.
![]()
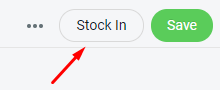
Step 4: After that, view the Purchase Order again and perform ‘Stock In’ for the items.
Mark as Completed #
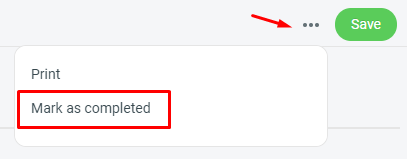
Step 1: Once all the item(s) had fully received & stock in, click on the ‘Mark as completed’ button to complete the Purchase Order.
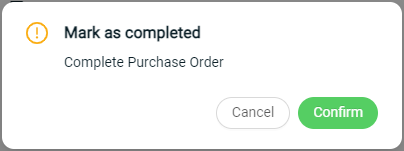
Step 2: Click ‘Confirm’.
For Latest Guide: Click here
Credits: SiteGiant Lite
Related Posts: How to Bulk Update Inventory Stock with Item Group


